
EC2 Instance
AWS Console
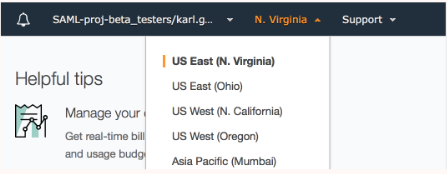
You must be using the US East (N. Virginia) region for all AWS activities. Please check your currently selected region before following this document’s instructions. To check and update your region, click on the dropdown in the upper right of the console window, just next to “Support”. Select US East.(N. Virginia)
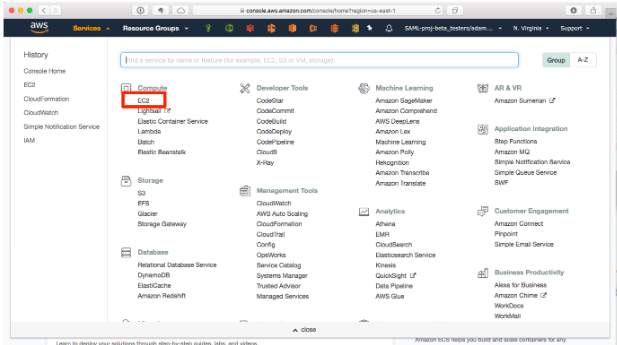
In the main Console page, click on “Services” in the top menu then “EC2” within the Compute section, or type “EC2” into the search bar.
Step 1: Create Key Pair
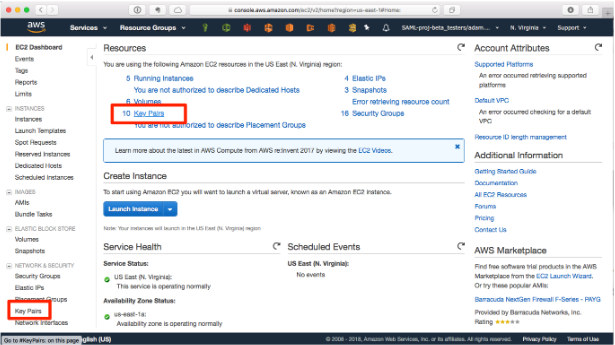
Click on the “Key Pairs” link in the left menu or under Resources. Then click the Create Key Pair button.
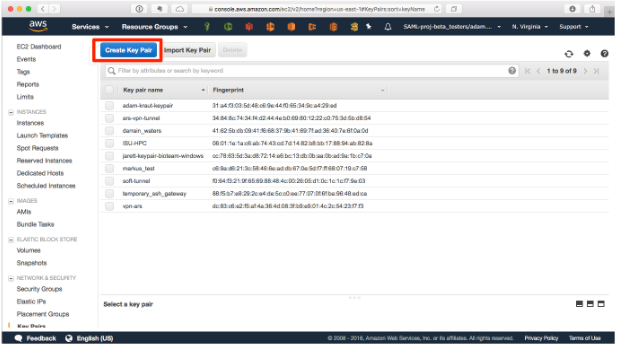
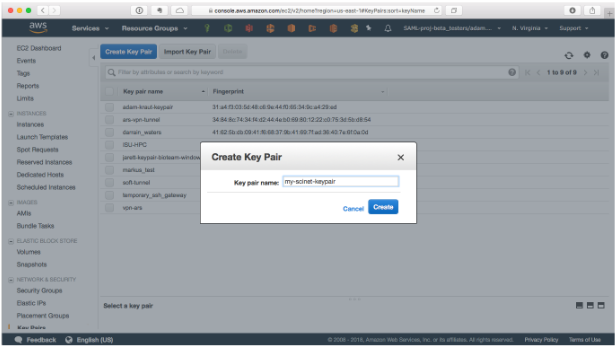
Click the Create button. Your browser will download the private key contents.
Save your private key somewhere for future use. This key will enable you to log in to your EC2 instance. You only need to create a KeyPair once for multiple EC2 Instances.
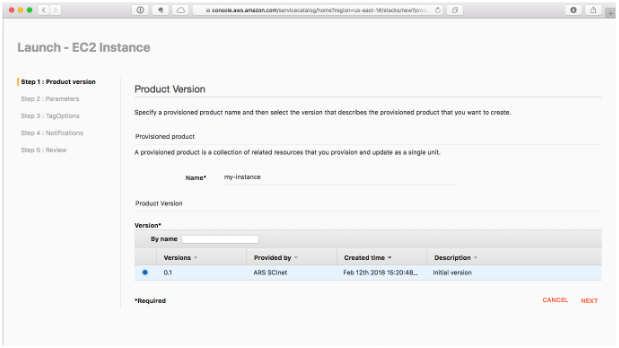
Step 2: Launch the EC2 Instance product
Use the top menu to navigate to Services > Service Catalog. Click the three-dots button on the “EC2 Instance” product card and choose Launch Product, or click on the product name and click Launch Product on the following screen. Enter a name for the product and select a version from the list of versions.

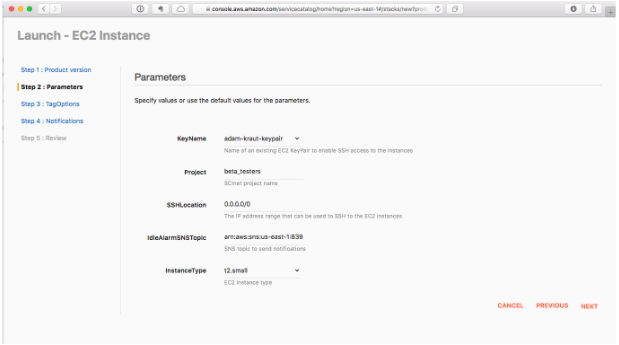
Step 3: Product parameters
Fill in the parameters as made available by the product template definition. Click next.
Some parameters may have limits or requirements. If you receive a warning message saying ‘abcde must equal the value of “Parameter”’, copy and paste the value on the left-hand side into the parameter field to proceed through the warning
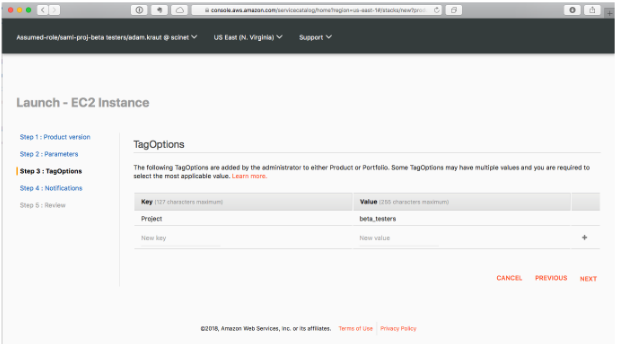
Step 4: TagOptions
You may provide optional tags to help you locate and track your resources. For most users, the default tags are sufficient. Click Next.
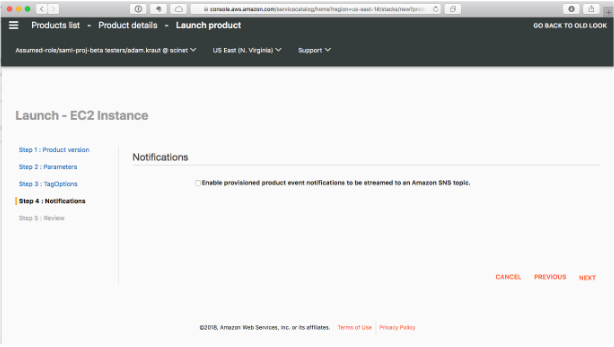
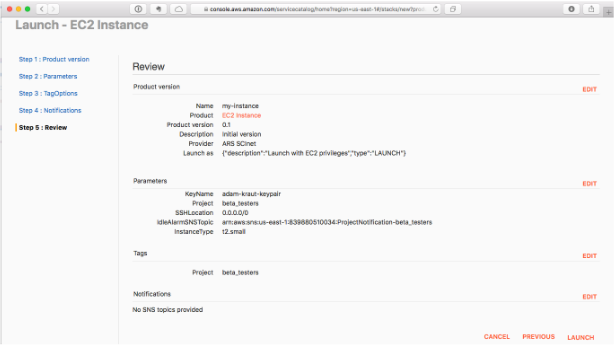
Steps 5-6: Notifications and Review
Continue through the Notifications screen by clicking Next. Finally, click Launch on the last page to launch the product.
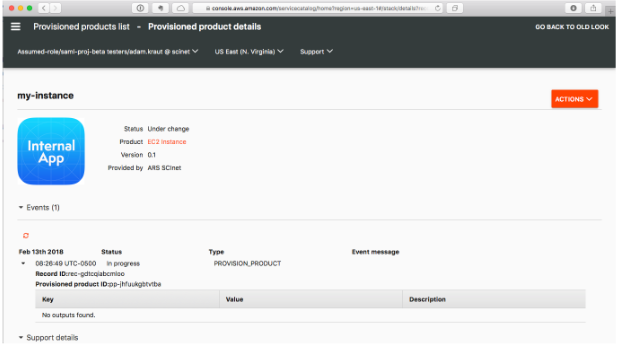
Provisioned Product Details
After initially launch, the product details page will show the product as “Under change” with status “In progress”. The page will automaticallyupdate (or you can refresh the page if desired). When complete, the product will change to “Available” with status “Succeeded”
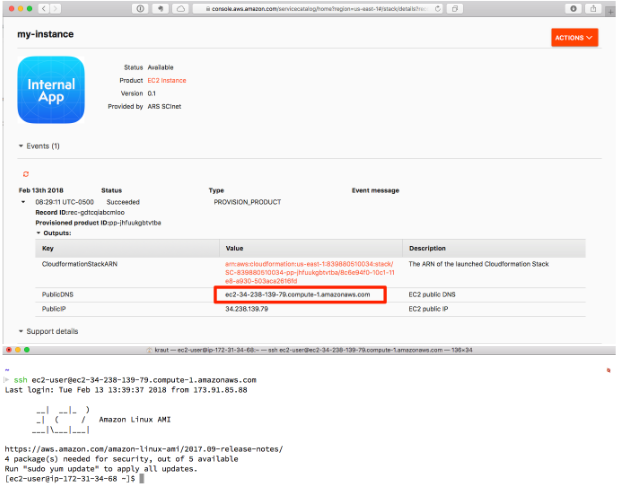
Connecting to an Instance
When the EC2 Instance product is “Available”. Copy the PublicDNS from the Outputs table. This is the hostname you will use to connect to yourinstance. You must provide the private key that you downloaded from EC2 in Step 1. The log in username is ec2-user.
ssh -i /path/to/keypair.pem ec2-user@<PublicDNS>
If you are using PuTTY on Windows, the private key (.pem) will have to be converted using PuTTYgen.
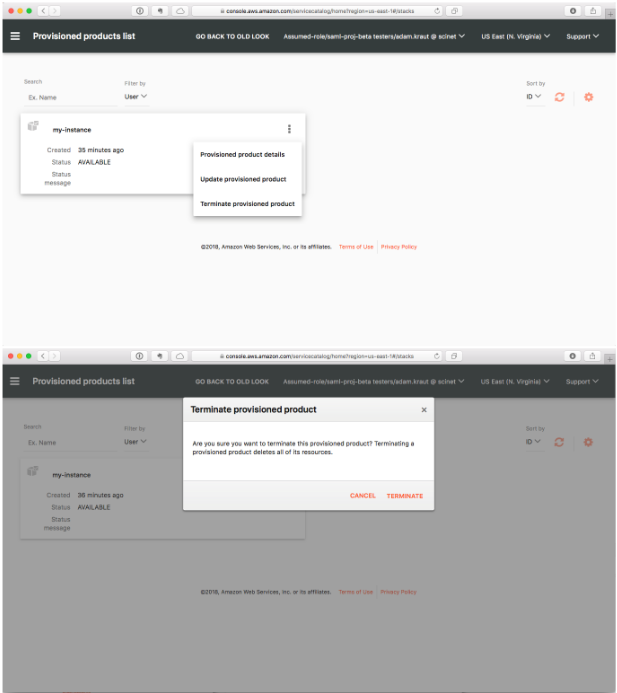
Terminate an Instance
View the list of provisioned products (resources previously launched) by clicking “Provisioned products list” in the Service Catalog console menu(the three bars icon in the upper-left). Click “Terminate” to confirm termination of the product.
Pathway Tools
The product follows the same general process as the EC2 Instance. For full documentation on using Pathway Tools see the Pathway Tools Software documentation.
Connecting to Pathway Tools
When the EC2 Instance product is “Available”. Click on the WebsiteURL in the Outputs table. This is the address you will use to connect to your instance.
Starting Pathway Tools
To start or restart the pathways tools service use systemd commands.
sudo systemctl start pathway-tools.service
sudo systemctl status pathway-tools.service